AeroPress
Ultimate AeroPress Brewing Guide: Master the Art of Pressure-Extracted Coffee
The AeroPress, a revolutionary brewing device, has transformed the coffee-making experience with its high-pressure extraction method. This versatile brewer, celebrated for its ability to produce espresso-like coffee as well as a smoother filter brew, is perfect for coffee lovers of all levels. Drawing inspiration from detailed guides, we've distilled the essence into an optimized AeroPress brewing guide. Whether you're looking to refine your technique or embarking on your first AeroPress adventure, follow these steps to achieve a superb cup of coffee every time.
Why Brew with an AeroPress?
- Versatility: The AeroPress can brew coffee ranging from rich, espresso-like shots to smooth, filter-style coffee. Its capability to adapt to different roast profiles makes it a favorite among coffee aficionados.
- Portability: Compact and durable, the AeroPress is ideal for travel, allowing you to enjoy your favorite brew anywhere.
- Speed and Convenience: From grinding to brewing and cleanup, the entire process can be completed in just a few minutes.
- Taste and Quality: The AeroPress's unique pressure extraction method enhances flavor and reduces bitterness, resulting in a cleaner, more enjoyable cup of coffee.
Essential Equipment
- AeroPress or AeroPress Go
- AeroPress Micro Filter Papers or Fellow Prismo attachment
- Coffee Scales
- Coffee Grinder
The Perfect Recipe
- Coffee: 12g to 14g (medium grind, similar to caster sugar)
- Water: 200ml to 224ml, heated to 93-96°C for optimal extraction
Step-by-Step Brewing Instructions
- Setup: Assemble your AeroPress in the inverted position with the cap off. Place a filter in the cap and rinse it with hot water to eliminate any paper taste and pre-warm your equipment.
- Coffee Preparation: Grind your coffee to a medium texture and add it to the AeroPress chamber. Level the grounds by gently shaking.
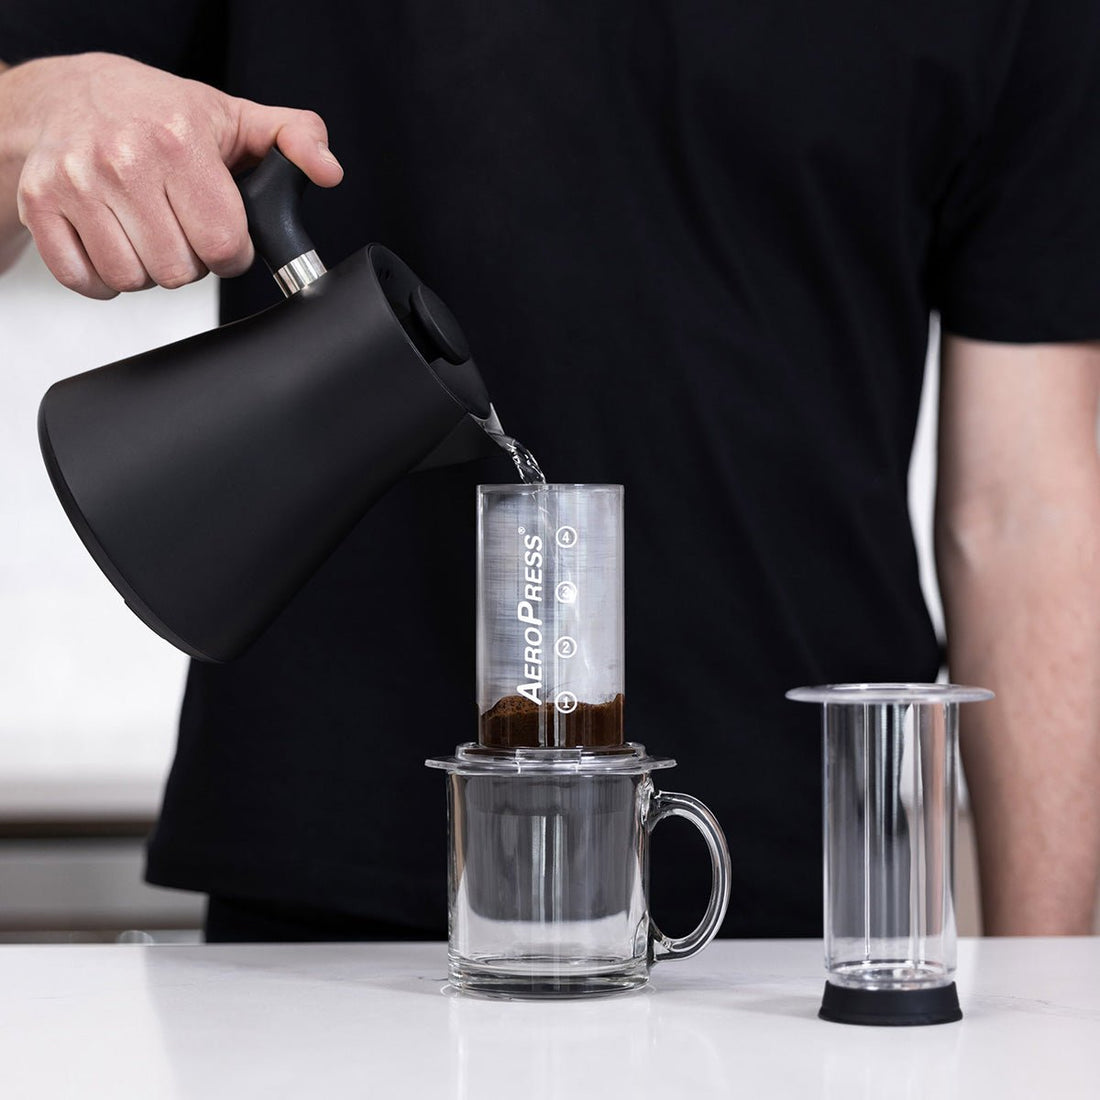
- Brewing: Tare your scale with the AeroPress on top and start your timer as you begin to pour the hot water. Aim for 200ml to 224ml, ensuring all the grounds are soaked. Stir five times to guarantee even saturation.
- Steeping: After adding water, wait until the 1:30 minute mark before securing the cap and flipping the AeroPress onto your cup or carafe.
- Extraction: At 2:00 minutes, begin pressing down steadily. The total press time should be about 20-30 seconds, ending when you hear a hissing sound.
- Enjoy: Detach the AeroPress and enjoy your freshly brewed coffee immediately for the best flavor.
Choosing the Right Coffee
For the AeroPress, both filter and espresso roast profiles can yield excellent results. However, a filter roast is often recommended for a balanced, nuanced cup that highlights the coffee's intrinsic flavors.
Tips for AeroPress Beginners
- Water Temperature: Avoid boiling water; it can scald the coffee, leading to bitterness. Aim for water between 93-96°C.
- Grind Size: If the press feels too easy or hard, adjust your grind size. Coarser for easier pressing, finer for more resistance.
- Experiment: Play with different coffee-to-water ratios, grind sizes, and steep times to discover your preferred brew.
- Inverted Method: Brewing with the AeroPress inverted (cap up) prevents premature dripping and allows for more brewing control.
By mastering the AeroPress with this guide, you'll unlock a world of coffee brewing possibilities, from espresso-style concentrates to light and smooth filter coffees. Happy brewing!!